Document Preview

Once you have selected ‘Create Bundle’ after reviewing your code and description details, Productivity creates the ‘Workspace.’ This is used to create the index structure and hierarchy for the bundle.
From your workspace at any point of creating your bundles, with V3 you can now include annotations, redactions and makes commentary available internally throughout your firm & externally with collaborators.
After importing: -
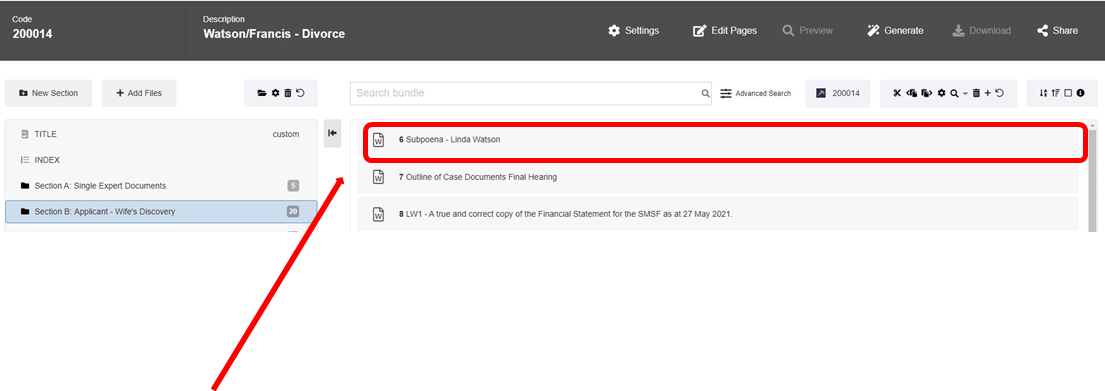
1. Highlight a document (single click)
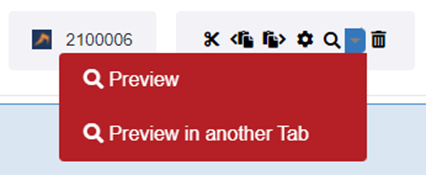
2. Magnifying glass
A. Preview – preview the document
B. Preview in another tab – preview the document in a separate tab to keep your workspace open along with the annotations screen
On the left side of your screen, you have a preview/thumbnail of the pages within your document. You can use the scroll bar to move up and down your pages.
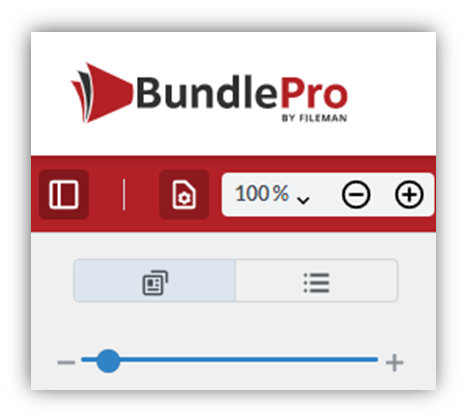
A. Panel Control – open/close panel.
B. View Controls
i. Continuous page - scroll without page break
ii. Page by Page- scroll with clear page break
iii. Rotate Pages - rotate pages clockwise/counter clockwise
iv. Single Page - view documents page by page
v. Double Page - view two pages at a time
vi. Cover Facing Page - view in book layout
C. Zoom into your pages in the main viewing screen by using the + or -.
D. Select the page icon to show preview/thumbnails of the pages in your document.
E. View the bookmarking of your document which is created AFTER generating your bundle.
F. Zoom into the document thumbnails/page previews.
Toolbar Icons
Pan Icon
The pan icon gives you the ability to move around your document by dragging it up, down, left, and right. This feature is used when you are viewing a document on a touch screen device – you can now move around your page by the simple dragging feature.

Select Icon
Use this icon to click, drag and select a region. You then have the option to highlight, attach a URL link or attach a page link within your bundle. Please see page 64 for more information.

Note Icon
Use this feature to drop a note on the page. The right panel will open to include your notes.

Redact Icon
You will need to select the redaction icon BEFORE highlighting the text that you would like to redact. Please see page 64 for more information on redactions.

Rectangle Icon
The rectangle icon will apply a rectangle around the selected region. The right comment panel will open to include any comments on this selected region. You can change the colour of your rectangle by applying a tag. Please see page 68 for more information on creating tags.

Circle Icon
The circle icon will apply an ellipsis around the selected region. The right comment panel will open to include any comments on this selected region. You can change the colour of your ellipses by applying a tag. Please see page 68 for more information on creating tags.

Highlight Tool
Use this feature to highlight text within your document. The right panel will open to include your comments. You can change the colour of your highlighted text by applying a tag. Please see page 68 for more information on tags.

Redaction Mask On/Off Tool
Use this feature to apply a black mask on your redactions BEFORE applying. This allows you to preview your redacted text. Please see page 64 for more information on redactions.

Tick Icon
Select the tick icons to apply your redactions at a document level – all unapplied redactions within the document will be applied. Once redactions are applied, they are embedded into the document and this cannot be reversed. Please see page 64 for more information on redactions.

Rubbish Bin Icon
Use this tool to delete ALL your own annotations from a document. You are not able to delete any
other user’s redactions/notes/annotations.

Settings Icon
Choose your display settings.

Search Icon
Search for metadata – advanced search. Please see page 70 for more information regarding our advanced searching feature.

Comments Icon
This icon opens/closes the comments panel on the right.

Plus Icon - Create Tags
Use this icon to manage & create tags. Please see page 69 for more information.

Once you have created your tags, use this drop down to apply the tag to your comments OR use the
‘Add New Tag’ as an alternate way to create tags.
